Gift Card Pro App Block Guide
The set-up flow for Gift Card Pro depends on whether your store’s theme is a newer, Online Store 2.0 theme or a vintage theme.
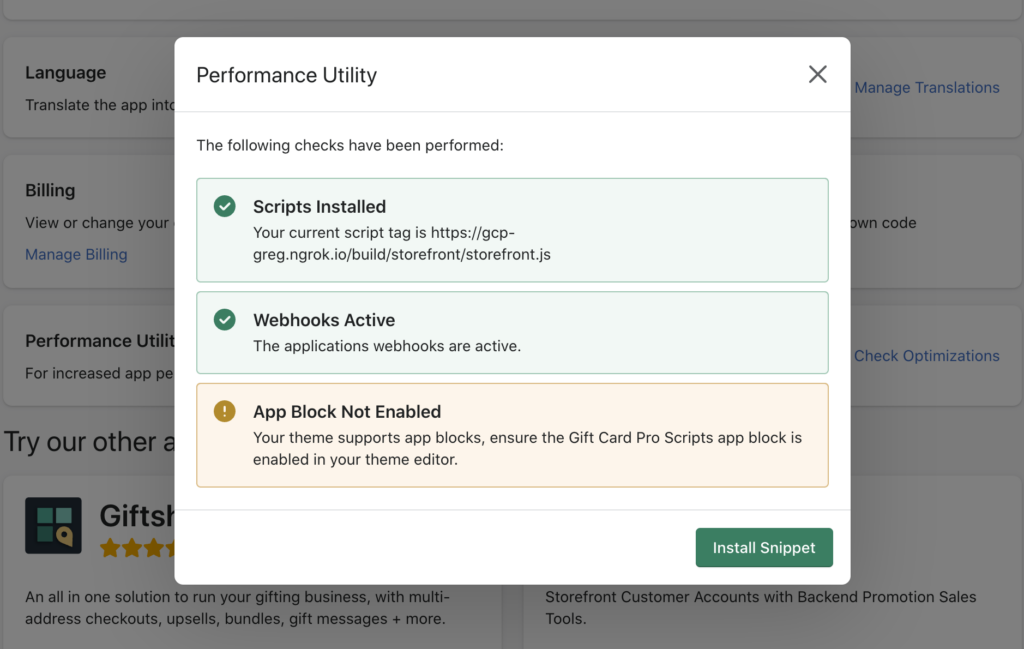
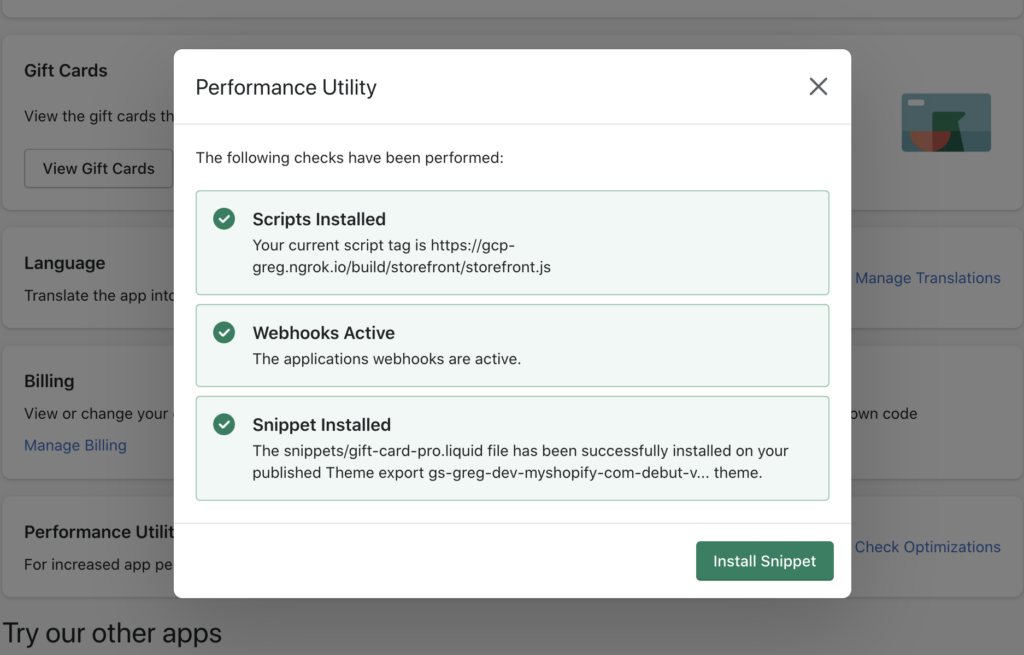
To check if your theme is an Online Store 2.0 theme that supports app block, run the Performance Utility check from the Gift Card Pro dashboard. If the third section of the Performance Utility modal includes “App Block” in the title, your theme is an Online Store 2.0 theme supporting app block embeds.


Online Store 2.0 Theme Flow
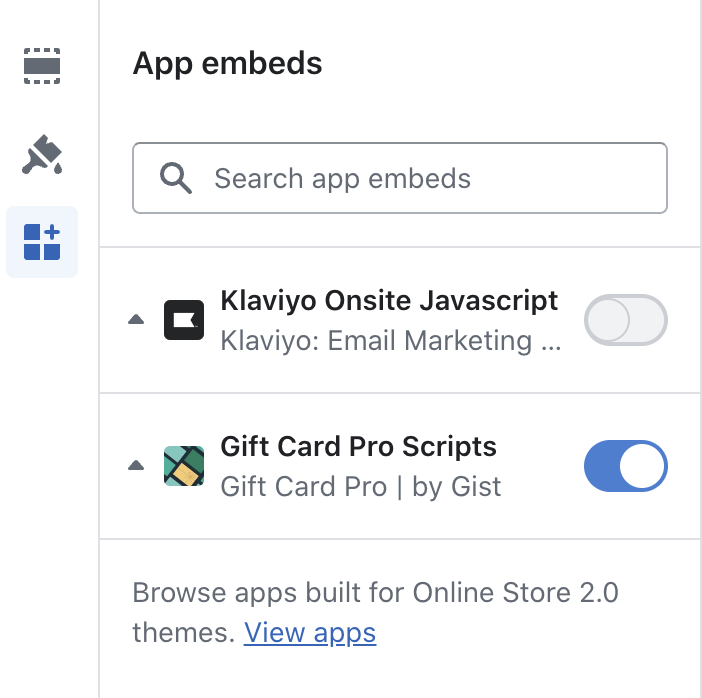
1. Activate the Gift Card Pro Scripts App Extension in your online store
- Navigate to Online Store –> Current theme –> Customize –> App embeds

2. If you wish to display Gift Card item properties in the cart page, a snippet must be manually created in your theme files
- Navigate to Online Store –> Current theme –> Edit code
- In the Snippets directory, create a new snippet called gift-card-pro-item-properties.liquid
- Paste the code found in this Github repo into the newly created snippet
Vintage Theme Flow
All snippets are automatically installed on your theme when you install the app. No additional steps are required.
Display Cart Item Properties in the Cart
Whether your store uses an Online Store 2.0 theme or a Vintage theme, displaying Gift Card item properties in the cart page requires some additional steps due to the diversity of themes.
For the steps required when using a Vintage theme, please refer to the article below:
When using an Online Store 2.0 theme:
1. Ensure you have added the gift-card-pro-item-properties.liquid snippet to your theme files as per step 2 of Online Store 2.0 Theme Flow above.
2. Locate a line of code that looks like the below excerpt in your cart line item loop. This is often located in a your sections folder, but can be found by looking at your cart.liquid, or cart.json file from your templates folder.
{% for p in item.properties %}
3. Directly above this line, paste the following snippet of code:
{%- render ‘gift-card-pro-cart-item-properties’, item: item -%}
Note: If your cart item variable name is not item, you will need to adjust the last “item” name as appropriate.
Once complete, your code should look like this:

4. Click save.