Installing Gift Card Item Properties Snippets (making Gift Card details visible on the Cart page)
Note: This article applies to Vintage themes only. If you are using an Online Store 2.0 theme, please refer to this article:
If you would like information about gift cards that have been added to cart, some code installation in your theme is required.
Step 1: Snippet Upload
Verify Gift Card Pro’s snippets are uploaded into your theme by navigating to Shopify Admin -> Online Store -> “Your Theme” -> Actions -> Edit Code. In the left hand bar, you should see 2 files under the snippets section.

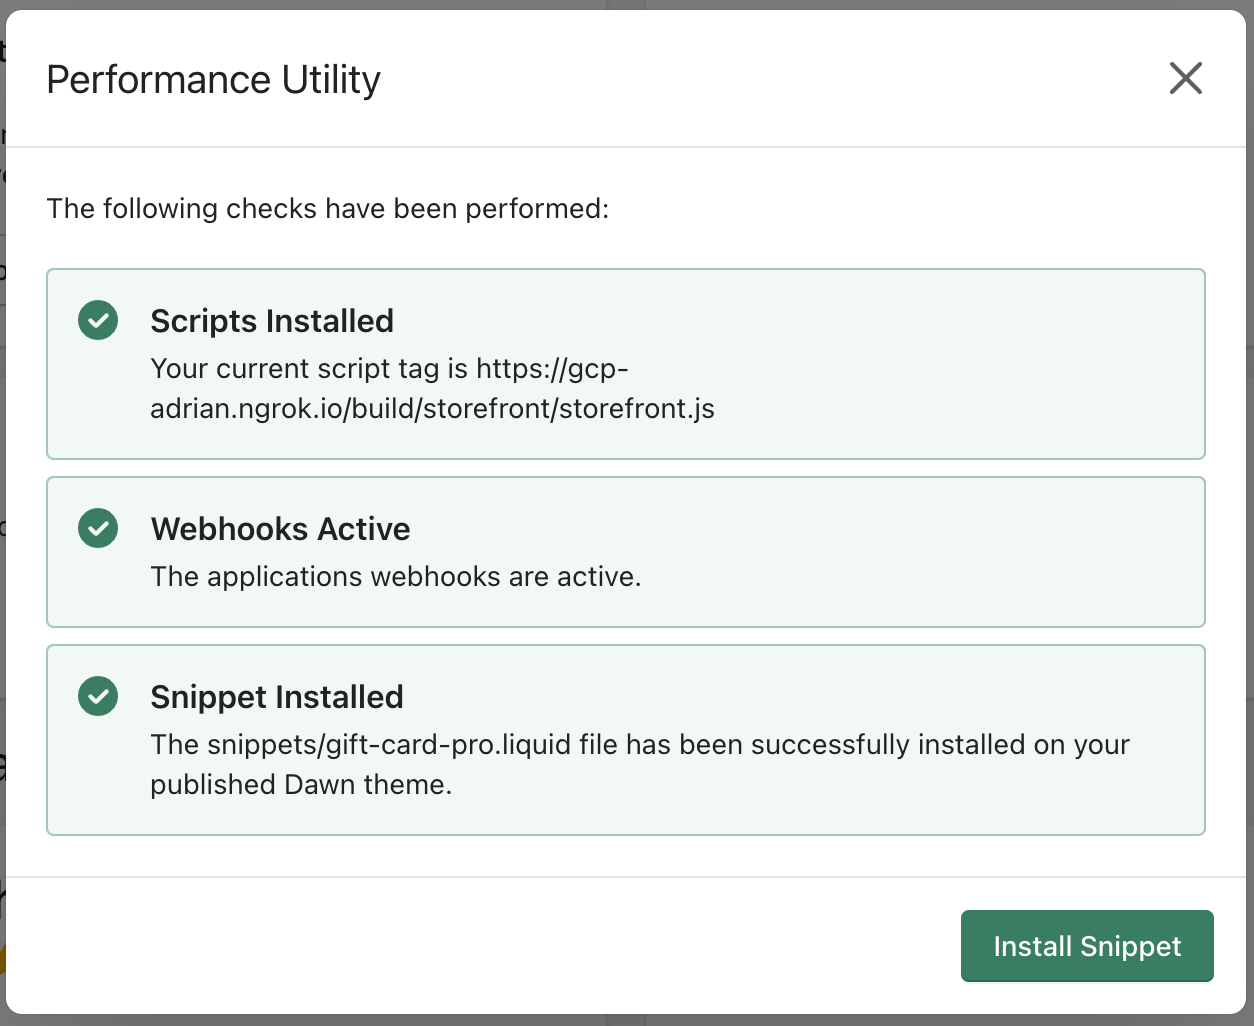
If the 2 files are not there, navigate to Gift Card Pro’s dashboard, by going to Admin -> Apps -> Gift Card Pro and run the “Performance Utility”:
Step 2: Snippet Installation
Next, verify that each snippet has been included in the correct location in your theme
Snippet 1:
For the first snippet, locate a line of code that looks like the below excerpt in your cart line item loop. This is often located in a your sections folder, but can be found by looking at your cart.liquid, or cart.json file from your templates folder.
{% for p in item.properties %}
Directly above this line, pass the following snippet of code, If your cart item variable name is not item, you will need to adjust the last “item” name as appropriate. Please note – the ‘gift-card-pro-cart-item-properties’ file should not be edited, but rather, included in your cart template. You may need to replace the bolded “item” text with the variable for a line item being used in your specific theme.
{%- render 'gift-card-pro-cart-item-properties', item: item -%}
Once complete, your code should look like this:

Click save.
Snippet 2:
The second snippet is found in your layout/theme.liquid file, right above the closing “</head>” html tag.
First, find the closing “head” tag in your HTML, and verify that the below snippet is located directly above it. It may say include, or render, however, both do the same thing.
{% render ‘gift-card-pro’ %}
If it is not there, paste it directly above it, so it looks like below.

Click save.